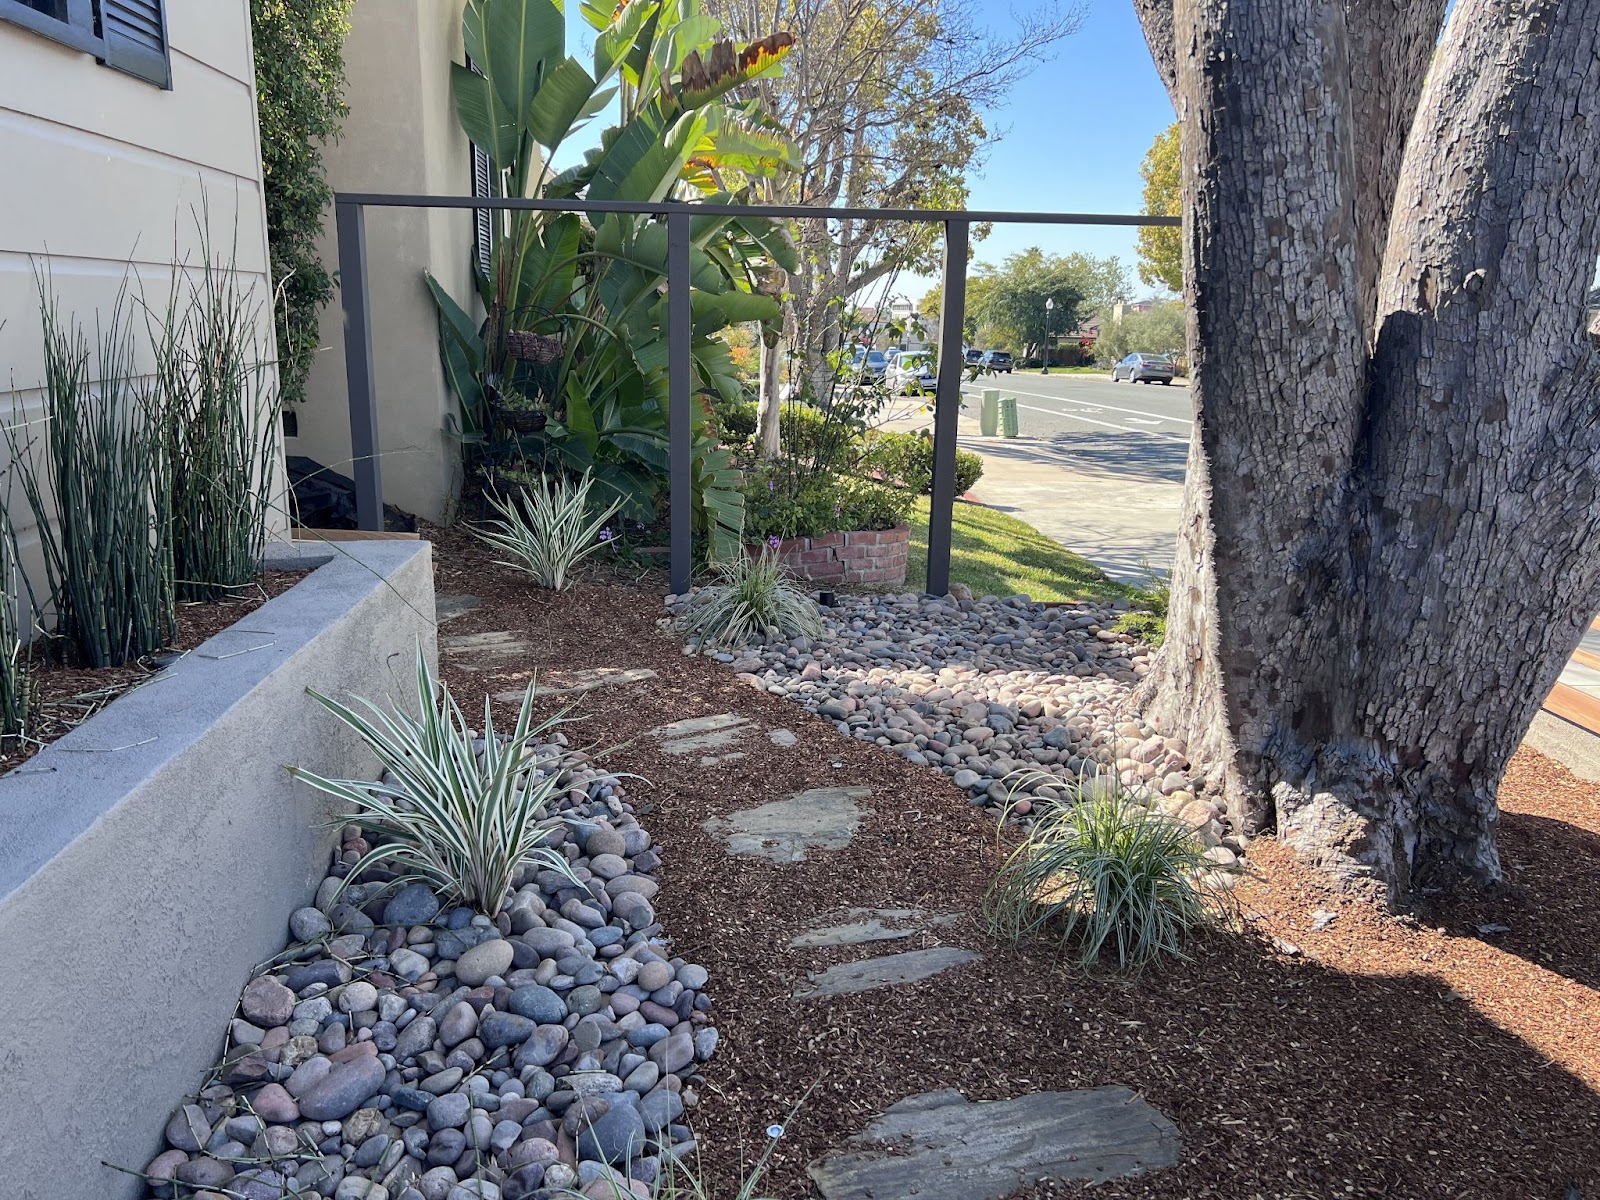
When it comes to one’s yard, privacy is very important. You could go for a very closed design with tall walls so no one could see in —or out—, but what if there was an alternative? Like this window wall!
The client had asked for a design that would limit the disturbance from the outer world, but would still allow some airflow. So, being that panel walls are among my favorite things to build, I came up with this window wall. And with this open design, you can still get your privacy, without completely secluding your yard from the rest of the neighborhood.
If you are curious about how I did it and plan to adapt it to your own space, here’s what you’re going to need:
MATERIALS
(we used Rough Western Red Cedar for this project,
but it can be swapped with other types of wood)
– 4×4 pressure-treated posts
– 2×6 pressure-treated frame
– Variety of 1x’s for paneling
– Concrete for the posts’ holes
– Exteriors screws
– Galvanized finished nails
– Stain or paint (optional)
TOOLS
– Rubber mallet
– Nail gun
– Miter or chop saw
– Stain applicator
– Drill
– Shovel
– Planer/sandpaper (optional)
– Speeds square
– Level and mini level
1. Measure the space
Just like any other DIY project, you need to measure the area you’re going to be working on. So, grab your tape measure. In my case, this space was around 12’ long but, once again, you can adapt these measurements, depending on the size of your yard.


2. Divide the space into 3 sections
For this, you’re going to need the 4×4 posts. In my case, the middle section is a little smaller, but you can divide them into equal sizes if you want.
Just make sure that the gaps don’t span wider than about 4’ or so because you risk warping and 1x material is less stable. If you need to span more than 4’, use 2x’s.
After you have measured and determined where your posts are going to go, it’s time to dig and place the posts. For more stability, pour concrete at the base.
The center posts will be where you split and stagger your 1x material, so keep that in mind when measuring.
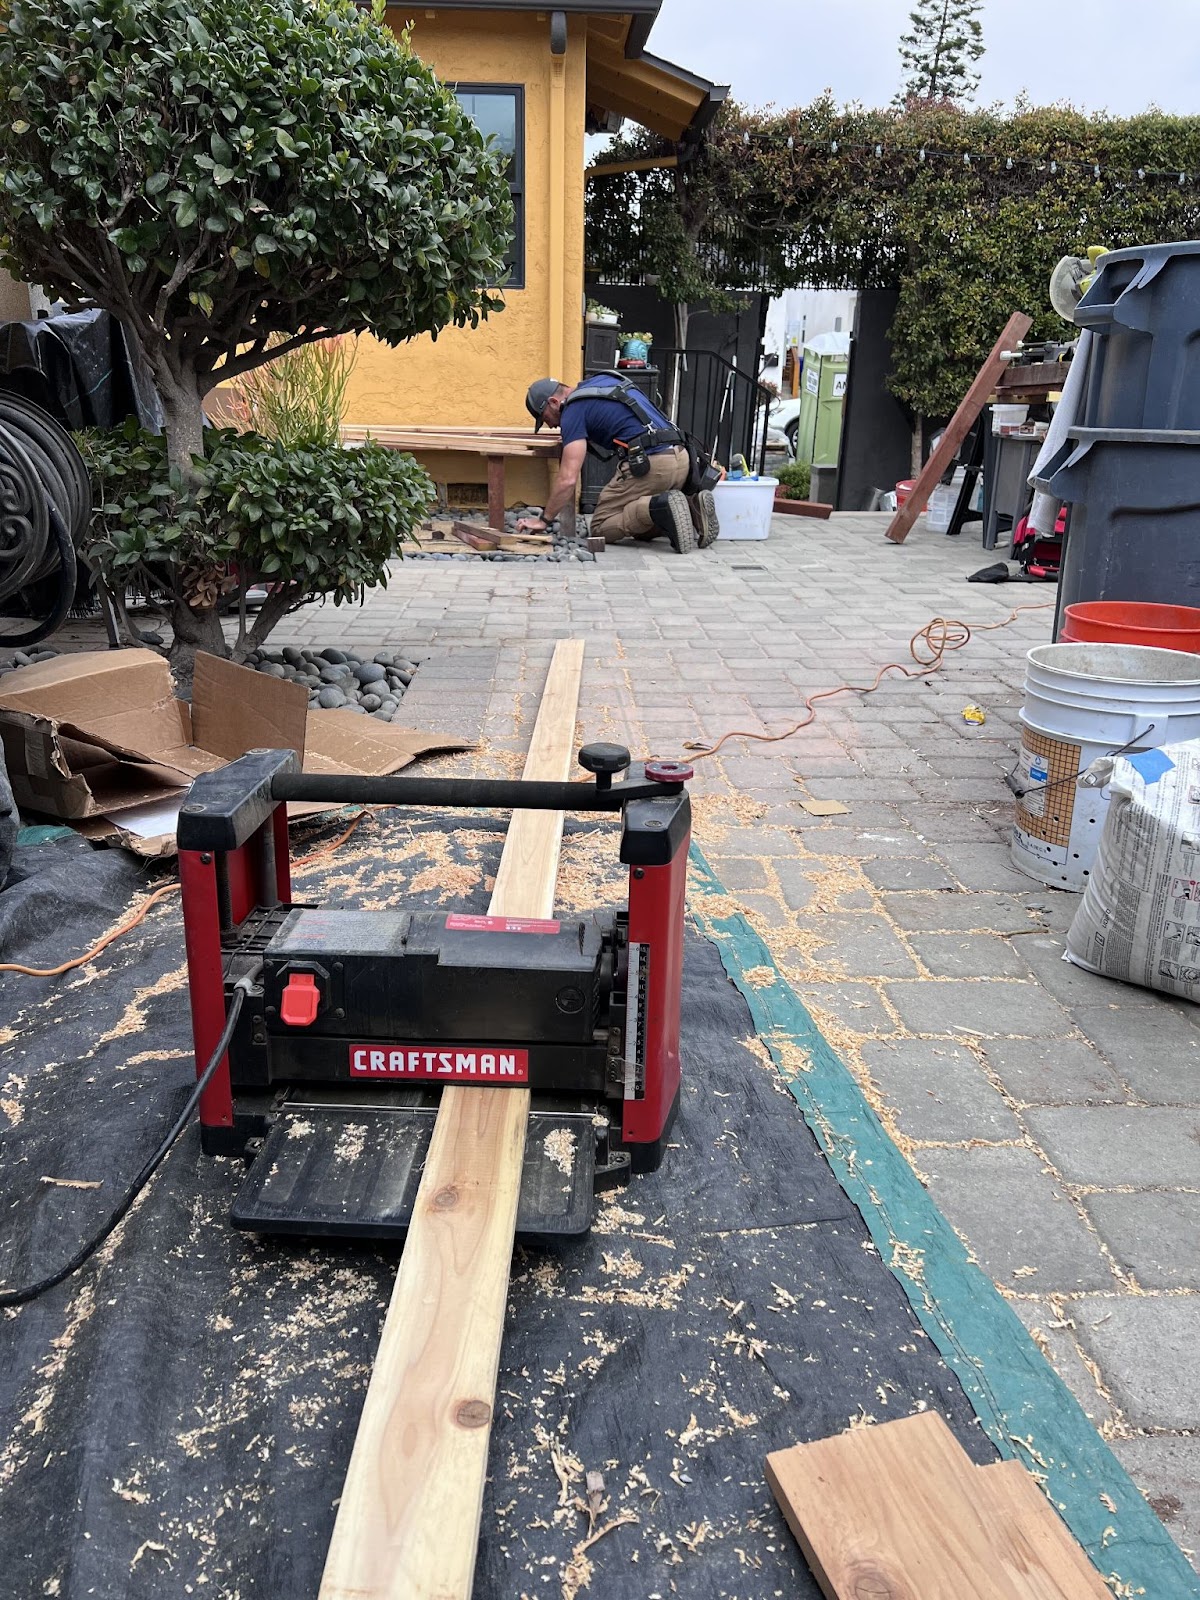
3. Plane the wood… if you want
This step isn’t a must; it depends entirely on the look you’re going for. You’re the boss here! Rough cedar would give a more rustic look, while planed cedar would give a modern and smooth look. I bought rough cedar for this project because it was more affordable and planed down the wood myself for the modern look.
For this, you can use a planer —like we did— or good ‘ol sandpaper.
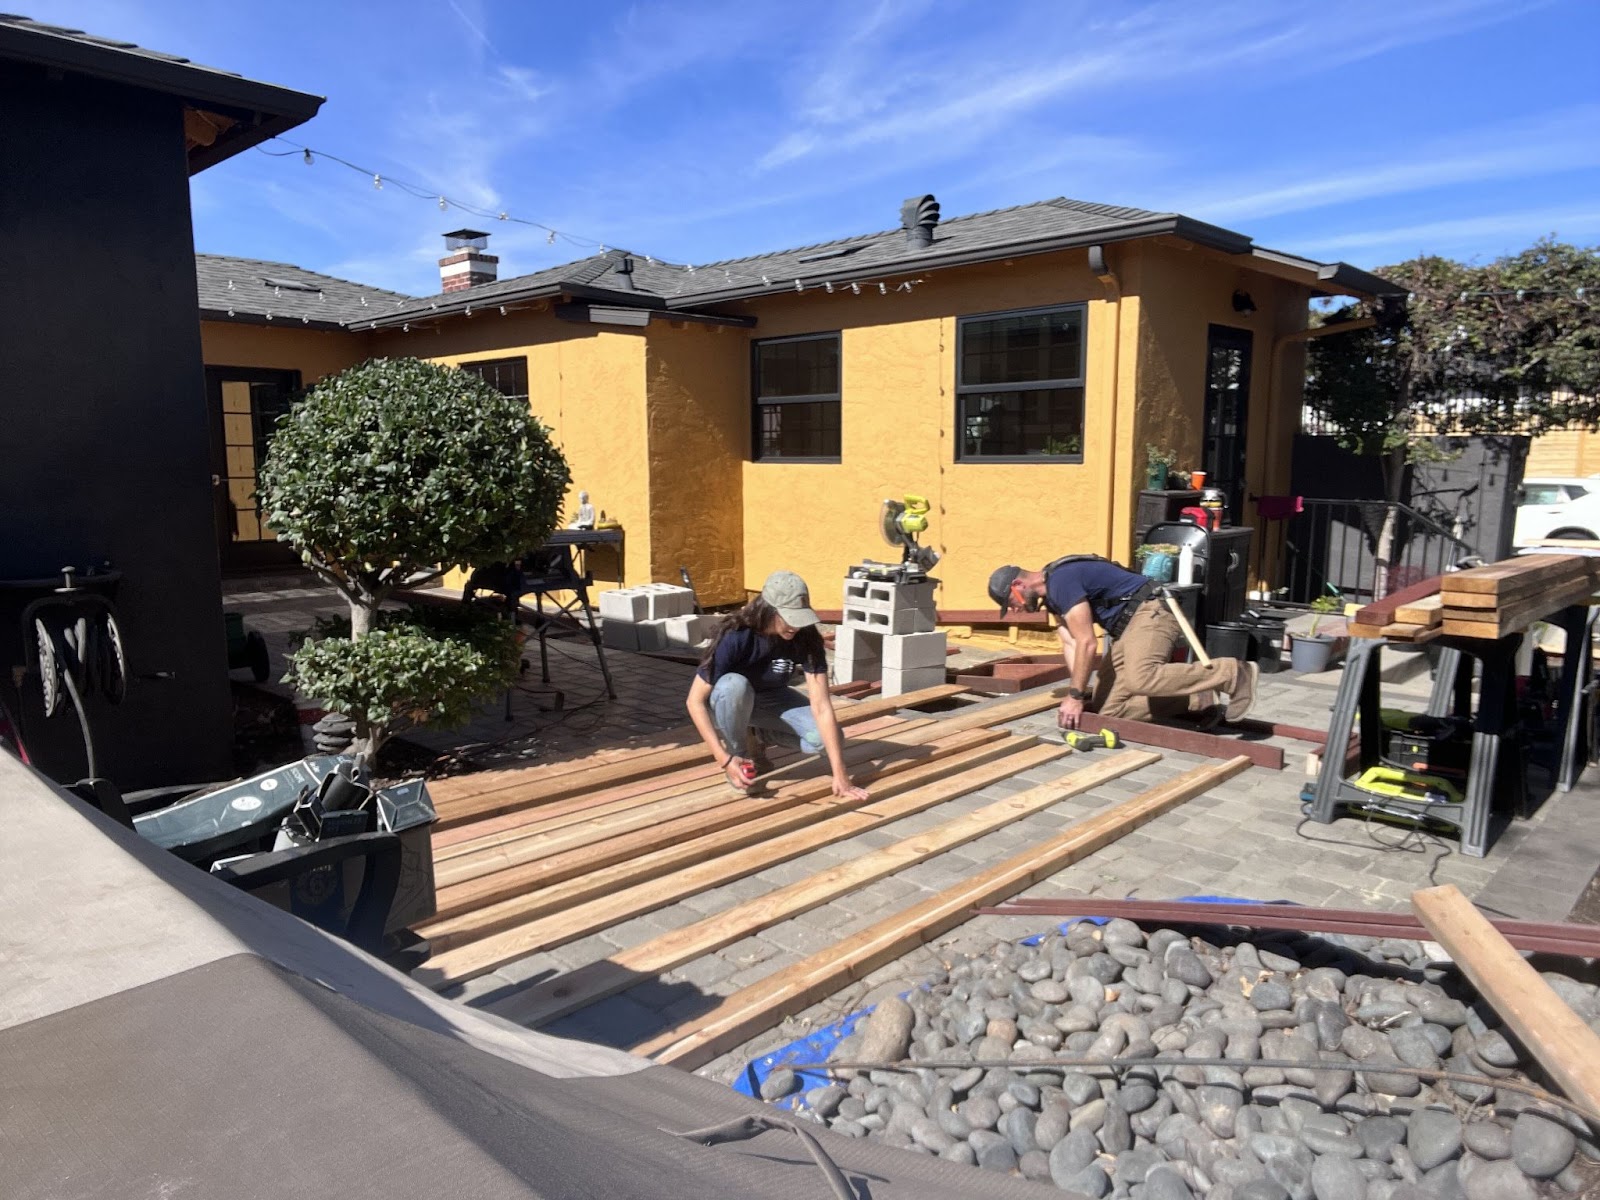
4. Make your 2×6 into boxes
I wanted the window boxes to protrude, so I used 2×6 rough cedar. I adjusted my dimensions to the height of my wall, as well as the number of the 1x material I was using. Keep in mind your choice of slat material and spacing will vary. It’s really helpful to draw it out and plan ahead of time.
To start your boxes, you’ll use exterior deck screws. A good tip to keep the box square is to only use one screw on each side, use a speed square to check your corners, and then lock in the boards with a secondary screw. It’s important to have a true square so that it fits with all the other dimensional lumber.
If you’re using rough cedar, keep in mind that the size might be a little uneven, one side being thicker than the other. If that’s the case, you can make the boxes and sand them later. That way, you won’t have any issues with stuffing them into the frames.


5. Fit the boxes into the frames
So, it’s time to place your boxes between the posts. For this, you might have to use the rubber mallet. If you don’t have one, you can use a hammer with a protective piece of scrap wood to protect the blows. Do not use the hammer as is, or you’ll risk damaging the material.
After you have fit the boxes in, you can use a finish nail gun to hold them in place. Then, after checking the level and spacing, use the screws to secure them, drilling them into the posts.


6. Cut slats into size
Time to bring out your miter — or chop saw. The running pattern is entirely up to you, but it’s preferable to stagger the joints. This is more for aesthetic reasons; if all the joints are in one place, your eyes will directly go to that specific area, and it won’t look pretty.
7. Stain the wood… again, if you want
This is another optional step. If you’re working with western red cedar, you don’t have to stain, because the material is naturally resistant to rot. However, if you don’t stain it, it can grey out.
Also, staining/sealer can add an extra layer of protection against the sun and other environmental elements.
If you’re using wood like pine or Douglas fir, you would need to paint the lumber to make it last.


8. Use a nail gun to put the slats into place
We are entering the final stretch! But, the most important part.
Using a nail gun, you’ll attach the slats to the posts, and use the level to make sure they’re leveled. I’d recommend you start from the bottom and work your way up. That way it’s easier to rest the top piece and the bottom piece with a spacer. To help you out with the spacing between slats, you can use a scrap piece of 1x as a guide.
Even spacing is what will make this project or break it. Poor spacing will make this look like garbage. You can have a little fudge spacing here and there, but you need to check the level on every board.


9. Add lights for additional drama
A final —optional— step is to add lights. This will not only help you look at your pretty DIY project at night, but it can make a dramatic point to any yard.
And if you like your window wall, why not highlight it?