Don’t get me wrong. When it comes to hardscape materials, I love using natural stones, pebbles, or luxury pavers to elevate a yard. But there’s nothing quite as versatile as good ‘ole concrete. Case in point: The concrete and wood bench you see here.
For starters, concrete is affordable. It’s also strong. For slabs, walkways, etc. in residential landscape projects, I typically use concrete with 2,500-3,000 psi (pounds per square inch). But it’s worth noting concrete is available up to 5,000 psi, making it really strong compression-wise. Still, it’s relatively weak in terms of the tensile strength (strength over a span). That’s where rebar often comes in and is used to minimize cracking and separating.
On a lighter note, it can take so many forms and be the base of multiple landscape designs, from modern to rustic and several styles in between. Now, back to the concrete and wood bench, I created for a client seeking a modern landscape built on a budget. The concrete cubes that bookend the cedar planks were easy to pour—but, of course, harder to form and finish—and they put a modern twist on an otherwise traditional seating area.
The materials to make a concrete and wood bench yourself are relatively simple and readily available. I’d recommend this project to an intermediate DIYer or pro. Here’s how I did it 😀
MATERIALS
-plywood (to form boxes)
~21 concrete bags (60 pounds each, color optional)
-6 4×4 timbers
-4 L brackets
-8 Red Head concrete wedge anchors
-box of exterior screws
-wood stain
-LED lights (optional)
TOOLS
-saw (to form boxes)
–trowel
-drill & bits
-hammer drill & bits
-brush/staining rag
*material sizes and quantities and tools may differ per project
Step 1: Pick a location


This seems a no-brainer starting point but it’s worth underscoring: Pick your seating area carefully, because these concrete cubes aren’t budging once they’re poured. Consider when you plan on using the concrete and wood bench most. Is it in the afternoon or evening? You might look for an area with afternoon shade. What about as a morning coffee spot? Keep an eye on the sun patterns in the yard. Placing a bench near any other entertaining items, like a fire pit, patio, or bbq area, is always a good choice. Depending on your area, you’ll want to space your cubes 3 feet to 5 feet apart, but no more than 6 feet without vertical support to prevent sagging.
Step 2: Make your cubes


Build a form using wood or plywood to form a concrete cube that’s at least 16 inches high and 18 inches wide. Form a notch on the interior side of it that’s at least 12.5 inches wide and 3.5 inches deep to house those three 4×4 cedar posts. Landscape design pros will want to smooth out the cube with a trowel while still workable. Hobbyists can achieve an equally satisfactory result by leaving the concrete in the forms until it’s completely hard, just expect an imprint of your forming material. Beware that if you pull the forms too early the cubes will slump and you’ll get a panzón (pot belly 😉 )
Step 3: Place the cedar planks


After your cubes are fully formed, attach a metal L bracket to those notches you carved out on your concrete cubes. We used a custom L bracket and predrilled it on the bottom side to tie into the concrete cube and smaller drill holes for wood screws on the top (two holes for each 4×4). I used a Red Head concrete wedge anchor for the concrete attachment. These L brackets will hold the 4×4 seat snugly. Finally, I used wood screws to attach to the L bracket on the bottom of the 4×4. Use a 1/2-inch spacer to separate planks from each other. Voila, you have a concrete and wood bench!
Step 4 (optional): Install LED lights
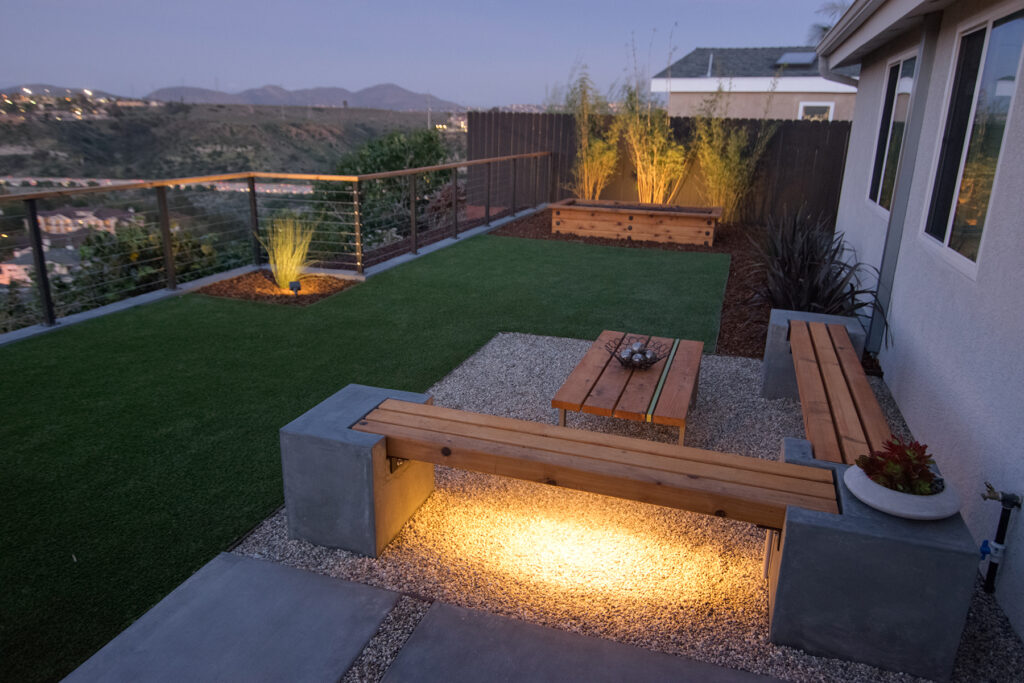
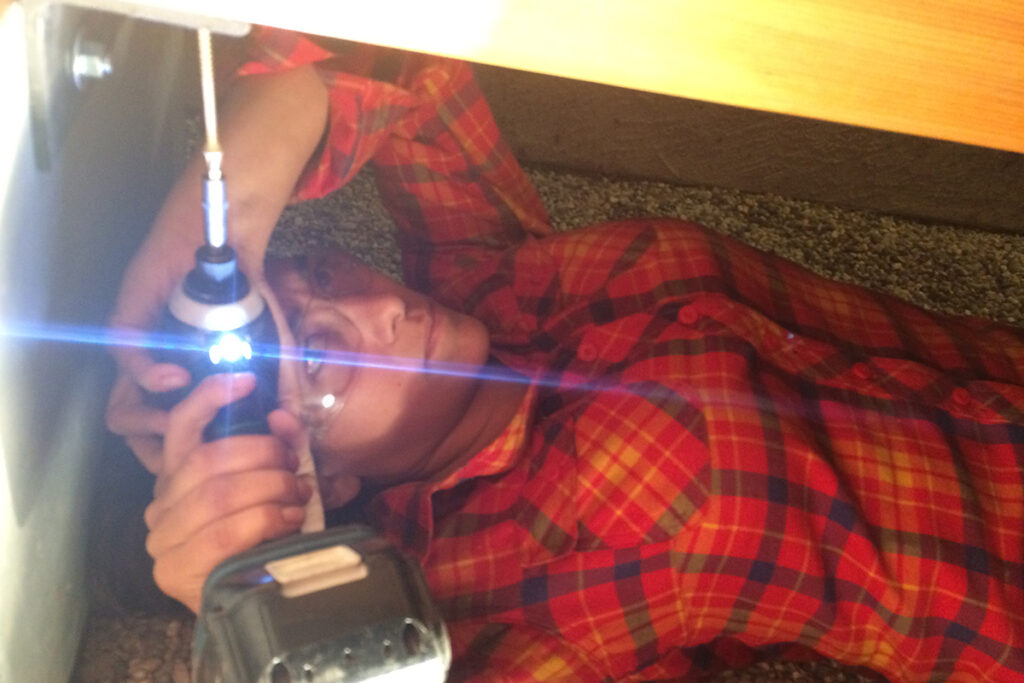
For a finishing touch, add an LED light to the bottom of your concrete and wood bench. Here, I opted for one that’s 6 inches long and about ½ inches wide and merely screwed it onto the bottom of the center of the 4×4. Word to the wise: Before pouring your cubes, run a sleeve in the cube to run the wire. (I didn’t, so you see a little conduit sleeve on the outside of the right cube 🙂 )This light ties into the rest of the exterior lights on the transformer. I love how it softly highlights this seating area without being too harsh on the overall landscape.